
Making a Portrait with Natural Light: Good and Bad Examples
Making a decent portrait with natural light is not easy task to do. Let’s be honest: many times each of us tried to take a portrait outside and it didn’t go well. Maybe the face was too dark, or light but flat, or the shadows under the nose and eyes were too rough? A photoshoot outside is challenging and requires some knowledge. This article is both for photographers that seek to make professional images and those who want their mobile pics to look better.
We will speak about natural sunlight in photography and its kinds. The examples below will demonstrate how we can use it depending on our artistic tasks.

Types of light
First of all, there are three types of light:
– Rough light – in the midday, the sun is at its zenith; the sky is without clouds, shadows are short;
– Soft dispersed light – the sun is behind a cloud or we are shooting in the shadow of a building or a tree or using a diffuser;
– Backlight – the sun is behind our model.
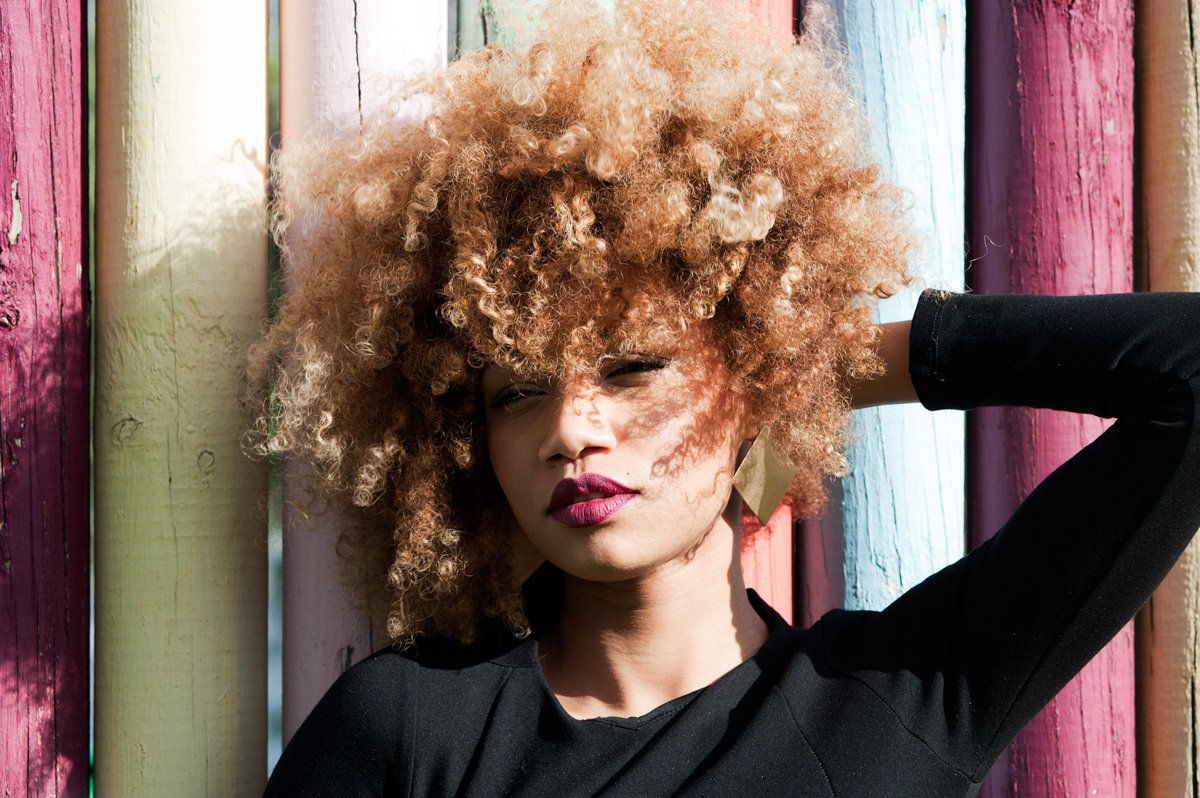
Rough light
This is probably the worst light for photography. If the model is standing in front of strong rough light, there are ugly shadows under the eyes, under the nose. All skin imperfections are revealed and the skin has an oily shine. If you don’t have the task to make a contrast image and play with a counter position of deep shadows and light, it’s better not to use this type of lighting.
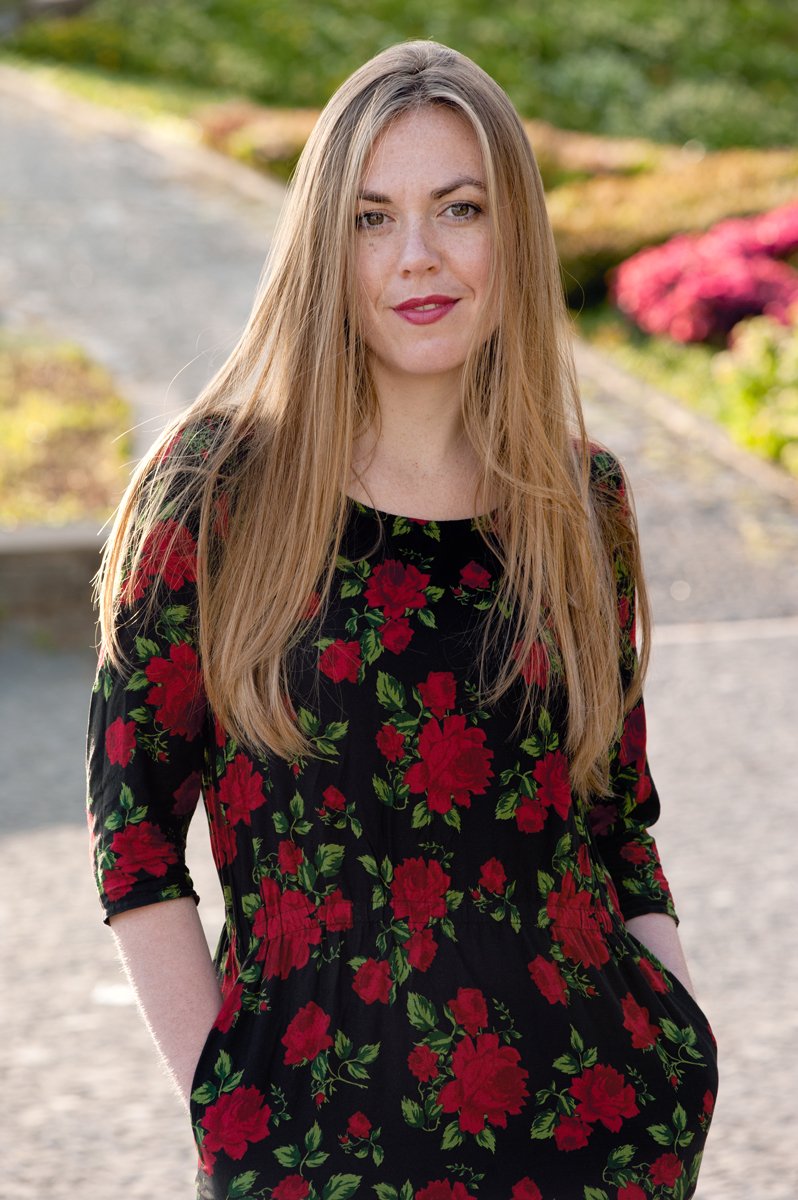
Soft dispersed light
Clouds are the best friends of the photographer. They can provide a uniform soft and dispersed light which is very good for a portrait. This type of lighting hides skin defects, gradually fills the model’s face with volume, softens the perception of the image.
A shadow from a tree can help us out on a bright sunny day, but there is one downside – green leaves often give an unpleasant shade on the skin. A perfect solution for photographers can be a white wall in the shadow. It distributes the light evenly on the portrait and doesn’t give parasite shades. If a white wall is not available, a gray one will do the trick as well. However, it’s better not to make a photoshoot near brightly colored walls. Of course, you can fix the consequences in Photoshop, but it will take time. The choice is yours.


By the way, soft disperse light can be achieved even on a bright sunny day with the help of a photography diffuser. Cover your model against the sun with a diffuser, and it will create charming mild light for your portrait shoot. It will smoothen the difference between deep shadows and bright lights, and the portrait will get volume.

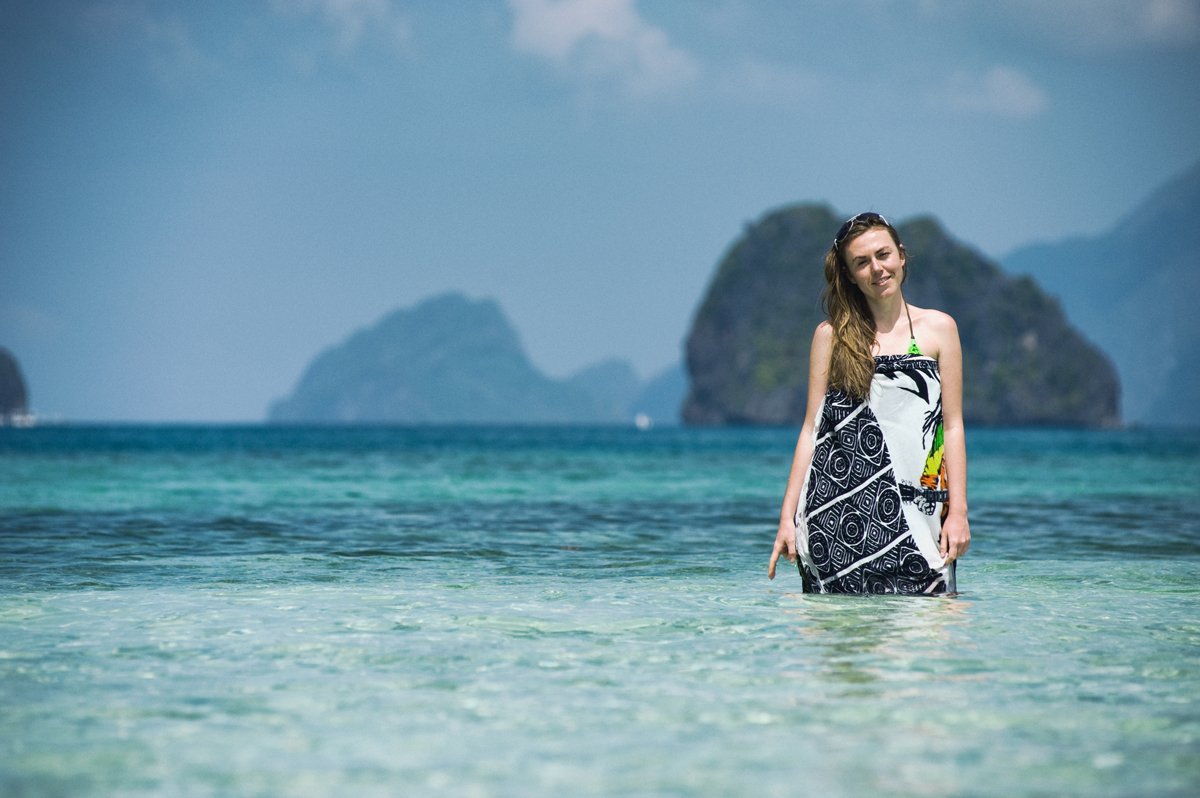
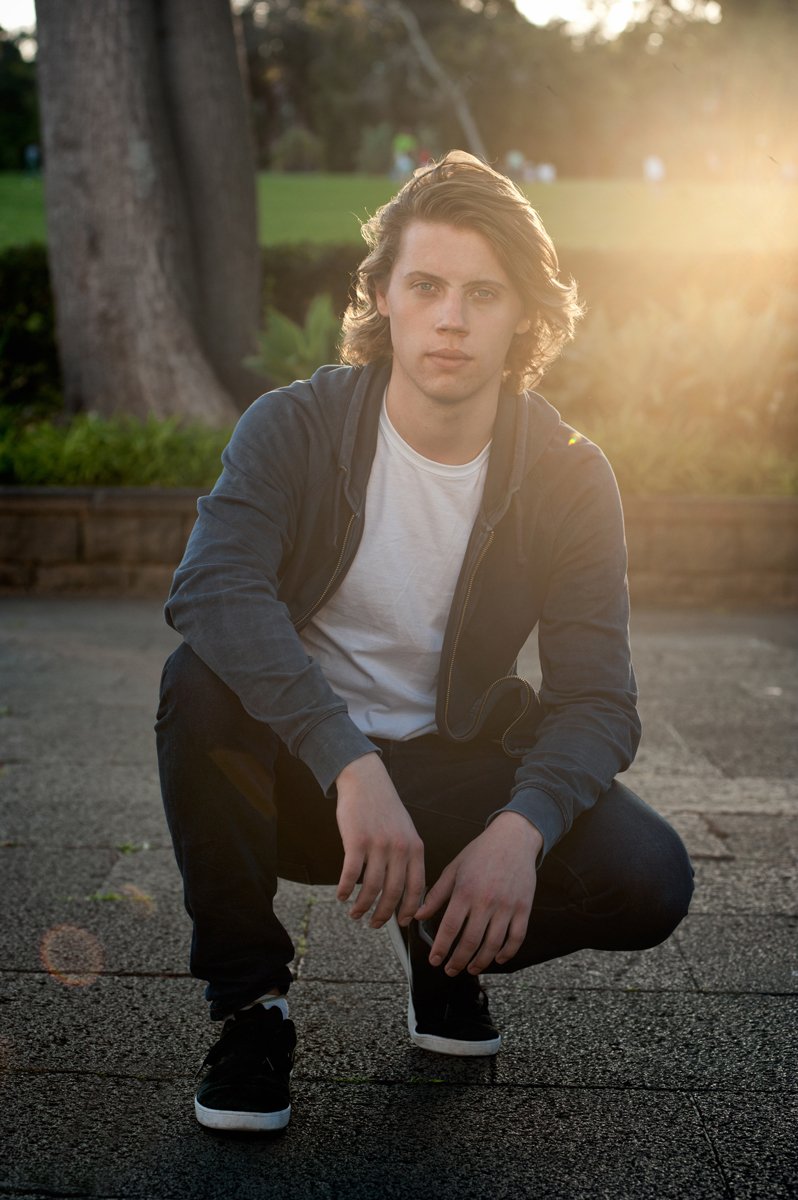
Backlight
A brief recipe is this: during the midday, when the light is especially tricky, put your model with the back against the sun. Measure the exposition by the face and press the shoot button. The result may surprise you!
This sounds very easy but the practice is a bit more difficult. At midday, the light difference between the model’s face in the shadow and the bright background is too big. The human eye sees the difference easily, but the camera’s dynamic range is not enough. With the center-weighted metering of the camera, there is a good chance to receive a beautiful well-exposed background behind the model, but the person’s face will be underexposed and dark.
A simple solution without any additional devices is to measure the exposition by the model. Use the spot metering of your camera. As a result, the model will be well-exposed. The background is likely to be a couple of stops lighter than needed. But we’re not shooting the background, right?
Ways to improve
No. 1: Use a filling flash – external or on your camera. This will equalize the difference between the lights and give the picture a more natural look. A softbox or a scattering nozzle on the flash will improve the photo significantly since there will be no apparent shadow-light borders on the face.
No. 2: Use a reflector. This is my most preferable option. A reflector not only can smooth the difference of light between the model and the background, but will also give the portrait most natural for our perception look.

What we learned
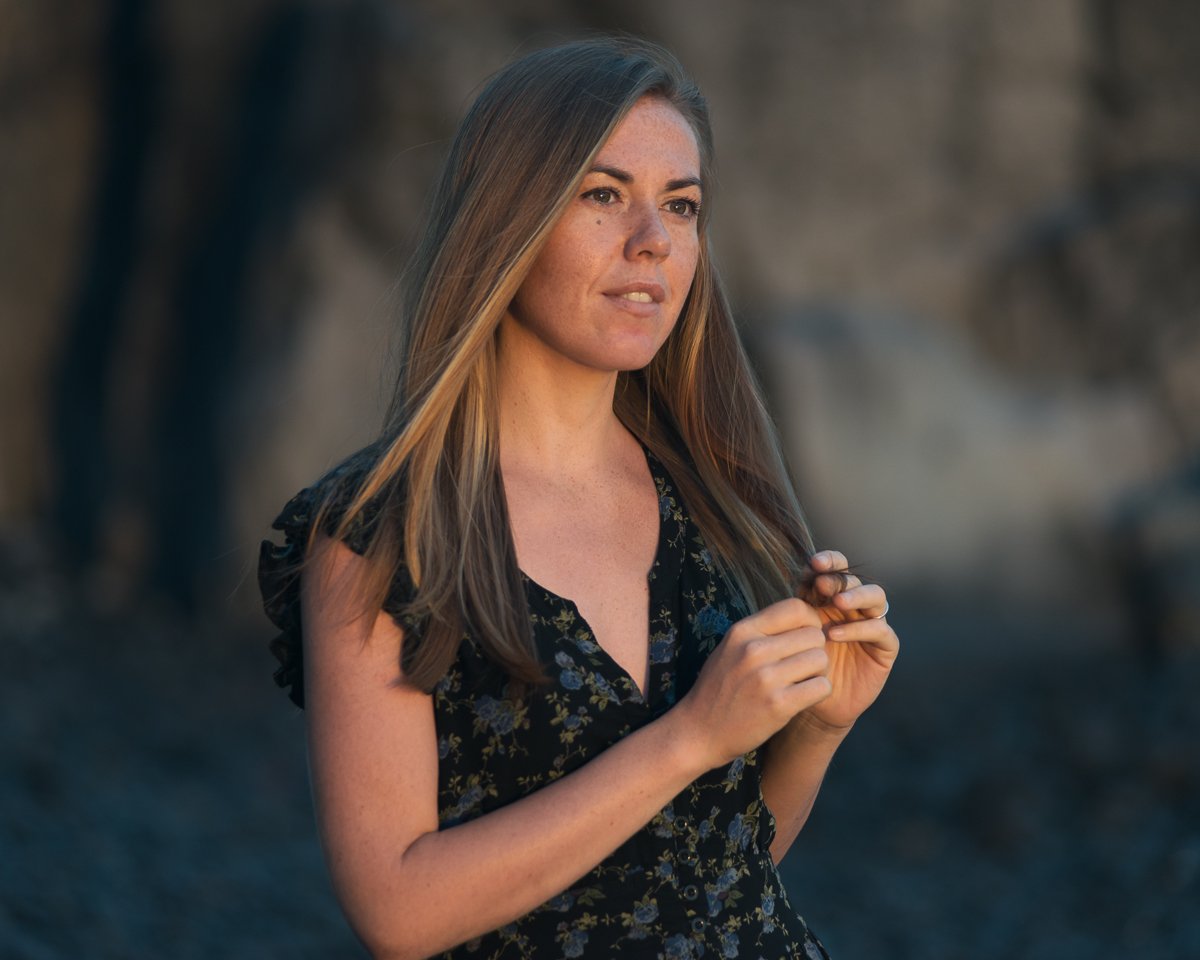
Now we know how to make a portrait with natural light, the light types, and the benefits and drawbacks of each. If you can choose the time for the shoot, do it in the morning or in the evening. The sunlight gives warmer shades, it’s less intensive, shadows are long and have more volume, and the drop between shadow and light is not as dramatic as in the daytime.
However, if you need to make a shoot during the daytime, at non-photogenic hours with the sun in its zenith, with the help of a flash and/or a reflector we can do our job well.
From my experience, I can say that the purchase of two reflector/diffuser kits – a portrait one and a full body length one let me improve the quality of portrait photography significantly.
Good luck and good portraits!
More articles/photos in our blog and here:
Romantic Wedding Photo and Video Session in Madeira: Key Ingredients
Contrast of Cold and Warm Colors in Portrait Photography
Photo Session of Surprise Wedding Proposal in Madeira. She’ll say yes!
Eloping to Madeira: 5 Things to Know for the Memorable Photo Session of Your Wedding
Please, leave your comments below, we want to know your opinion.
Our social media:
[…] Making a Portrait with Natural Light: Good and Bad Examples […]